Sunday, January 31, 2010
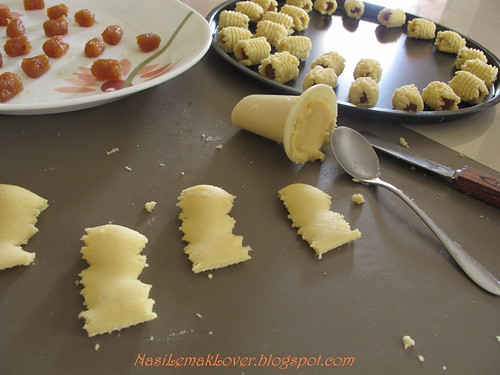
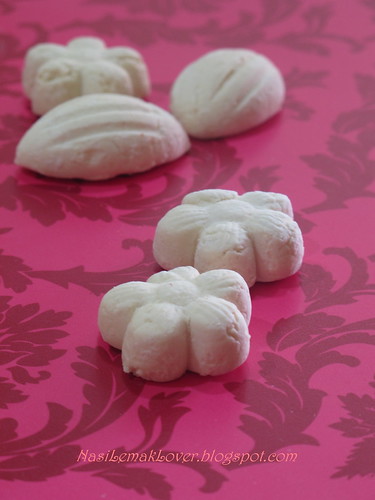
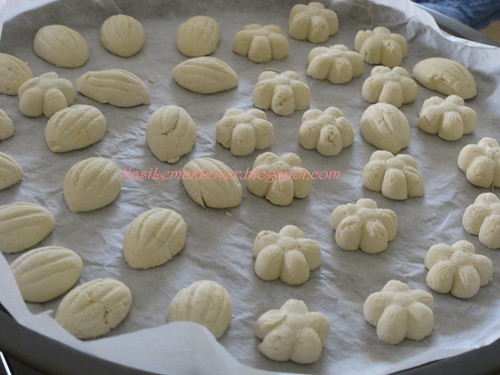
Pineapple rolls (Nastar) 凤梨酥- my own way !
-I just use a very cheap Nastar mould, but I feel this mould is so easy to handle, just use thumb to push out the pastry.
** The interesting ingredient is Condensed Milk ( sweet milk/ susu pekat manis), trust me, you will not have a sweet pastry, but instead the pastry is buttery and soft.
Pineapple rolls (Nastar) –makes around 170pcs
Ready-made pineapple jam 680g
Condensed milk (susu manis pekat) 100g -I use F&N Sweetened Creamer(Krimer Pekat Manis)
Butter 375g
All purpose flour 570g
Egg yolks 2
Egg yolk for egg glaze -2
1. Cream butter and condensed milk till light.
2. Add in egg yolk one at a time, and beat until fluffy.
3. Mix in flour, mix till become a firm and non-stick dough.
4. Put mixture into a Nastar mould and press out into strips about 5-6cm long.
5. Place pineapple jam filling on the edge of a strip and make a small elongated roll.
6. Cut off excess dough, brush with egg glaze.
7. Bake in preheated oven at 180c for 13-15mins or till golden brown.
8. Cool on wire racks before storing.
Happy Baking !!
Thursday, January 28, 2010
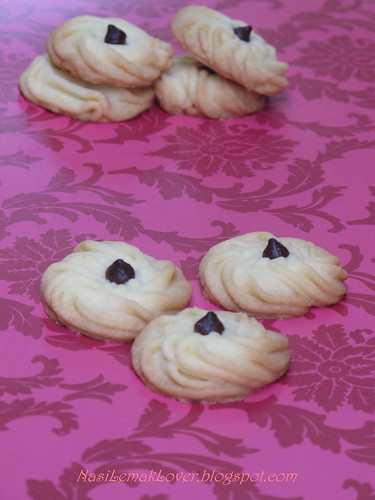
Butter cookies 牛油曲奇-simply buttery and melt-in-mouth !
Recipe adapted from 阿莫 , Thanks Ah Mor for kind sharing.
Butter Cookie (makes 50pcs)
Butter 200g (use good quality of butter)
Icing sugar 50g
All purpose flour 150g
Corn flour 50g
Chocolate chips (optional, not in original recipe)
1. Beat butter and icing sugar till creamy.
2. Sift in flour and corn flour, mix well to a soft dough
3. Scoop dough into piping bag and pipe dough evenly on baking tray.
4. Bake at preheated oven at 180C for 13-15 minutes or golden brown.
Happy Baking !!
Wednesday, January 27, 2010
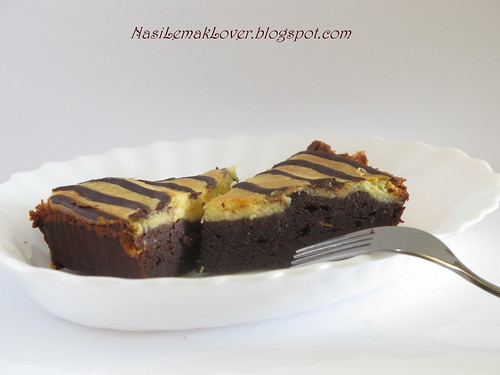
Cream Cheese Brownie
Recipe adapted from Moon 月亮 , Thanks Moon for kind sharing !!
Cream Cheese Brownie
Brownie layer:
120g dark chocolate (bitter chocolate-55%cacao)
120g butter
30g brown sugar
2 whole eggs
60g all purpose flour (sift)
3 mashed banana (not in Moon’s recipe, I extra added this to enhance the taste)
Cream cheese layer:
200g cream cheese
50g sugar
½ tsp of vanilla essence
1 whole egg
Steps for brownie layer:-
1. Melt dark chocolate, follow by butter and sugar in a pot over simmering water.
2. Add in eggs and mashed banana into mixture 1 and mix well
3. Sift flour into egg mixture and combine well
Steps for cheese layer:-
1. Beat cream cheese and sugar till creamy
2. Add in eggs and vanilla, beat till well combine
Combine both layers:-
1. Pour brownie mixture into a baking pan, keep 1tbsp for decoration
2. Pour cheese mixture on top of brownie mixture
3. Fill the 1tbsp of brownie mixture into a piping bag, and follow to Moon’s step here to decorate.
4. Bake at pre-heated oven at 180c for 40mins.
Happy Baking !!
Monday, January 25, 2010
Rice Cooker Salted Chicken
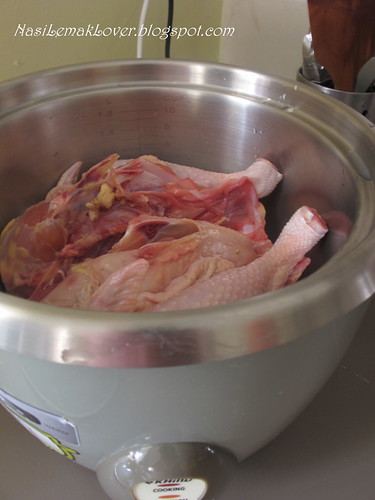
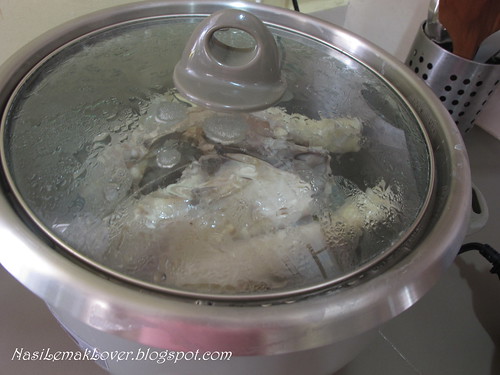
- Cooking chicken in rice cooker
-Done
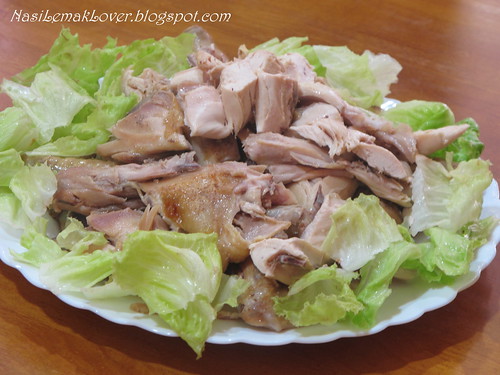
-Ready to serve, Yummy Yummy !!
Rice Cooker Salted Chicken
Chicken 1.5kg ( I use kampung chicken)
Salt 1tbsp and 1tsp or to taste
Chinese wine Tiew Heng 绍兴酒 2tbsp
Chinese herb Tong Kuai 当归片 20g (you may omit this if you don't have it, maybe you can replace with black pepper)
1. Soak Tong Kuai herb in Tiew Heng wine for 30mins.
2. Rub salt over the whole chicken, and Tong Kuai and wine, set aside 2hours.
3. Place chicken in a rice cooker and also the mixture, and cook.
4. Cook for 30mins or till cooked.
My note: Once cooked, it came out some juices, after cut the chicken into small pieces, either you can pour juices on chicken or just add to white rice, yummy!!
Happy Cooking !!
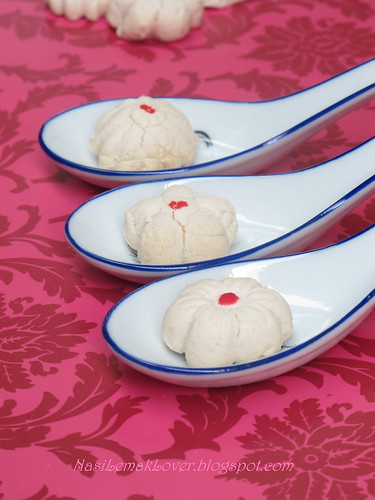
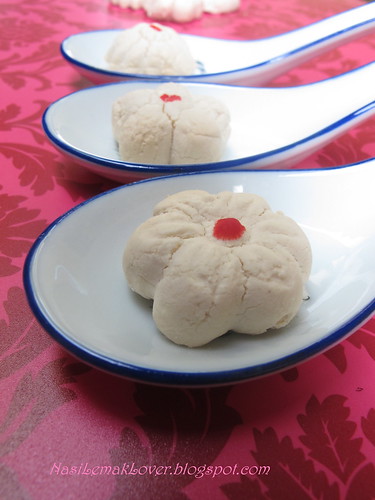
Kuih Bangkit 茨粉饼, crispy and simply melt-in-mouth !! (latest update)
Recipe adapted from Jane, but I altered the ingredients measurement as I have done stir-fried flour before her post. Thanks to Jane for kind sharing !!
Personally I also recommend you to refer No-Frills Recipe and Baking Mum, both followed to traditional way, also stir fry the flour over low flame until light and cool for several days. One thing they did not add in is sago flour, but they also add in margarin/shortening
Kuih Bangkit (makes around 50pcs)
200g tapioca flour
60g sago flour (updated on 17 Jan 2014- you can use half tapioca and half sago flour too)
4 screwpine (pandan) leaves, cut into small pieces
1 egg yok
85g icing sugar (earlier I added 100g, realized a bit too sweet)
70-80ml coconut milk (or adjust accordingly) -only use freshly squeeze coconut milk !! Updated on 17 Jan 2014)- you should use concentrated coconut milk, simply squeeze out coconut milk by not adding any water
A pinch of salt
Red food colouring (for decoration)
1. Stir fry tapioca flour and sago flour with pandan leaves in a clean wok for 75mins(low flame) until flour very light and slightly turned yellow, and pandan leaves turned crispy. The final weight I got was 210g.
2. Cool flour for several days (if you intend to keep more than 3 weeks, then store in air-tight container and keep inside the fridge) .
3. Whisk egg yolk until creamy, add in icing sugar and half coconut milk, whisk till combine.
4. In a mixing bowl, sift in tapioca+sago flour, add in egg mixture.
5. Slowly add in(little by little)the balance coconut milk into mixture, mixing by hand till mixture clings together to form a stiff dough, smooth and pliable(neither too wet nor dry, I knead about 5mins).
6. Dust a Bangkit mould with extra flour, press dough gently into mould. Trim excess dough. Tap gently on hard surface to remove dough. Repeat.
7. Bake in preheated oven at 160c for 25mins.
茨粉饼:-
200 克茨粉
60 克 沙谷粉
4片斑兰叶 ,切小片
1 个蛋黄
85 克糖粉 ( 我曾经用100克,但发觉太甜了)
70-80 毫升的椰浆(要用新鲜的椰浆)
1 小撮盐
红色色素
Notes from me:-
1. I feel a bit tough to use mould to shape, advise you to use the cookie cutter for easy shaping. Personally I like the traditional mould.
2. Use toothpick to clean the excess dough stick on the mould.
3. Set aside extra coconut milk to add in dough when dough turned dry, and extra flour for dusting.
4. Do not try to shorten the stir fry time, if you did, you will have a cookie has raw flour smell..
5. Press dough gently on the mould, do not over press, otherwise hard to remove cookie from the mould
- I did few with Tiger face, look ugly ho?
Saturday, January 23, 2010
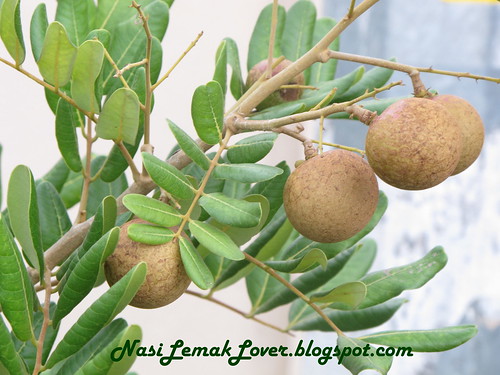
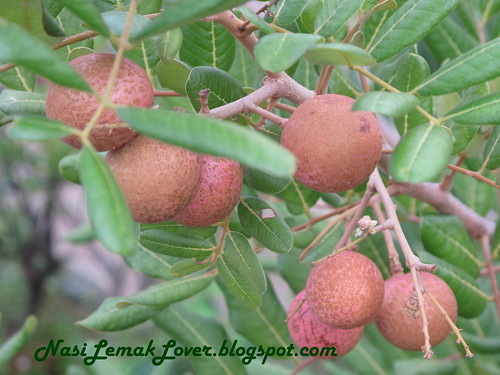
Cat's eyes !
-the flesh is very juicy and sweet, furthermore this is organic!!
Thursday, January 21, 2010
Kuih Bangkit - Try my best !!
So this year, I give myself a challenge to this difficult to do Chinese New Year cookie.
I don’t have anyone to refer, even my Malay friend also don’t know how to do. No choice, I searched in Google and food magazines, found few recipes, at the end I picked the recipe from the food magazine which look workable.
Kneading process worked ok, but when comes to making shape, it was so difficult, especially to remove from the mould.
When the 1st batch done, my kids and hubby tried, they didn’t enjoy eating them as it is hard and have kind of raw flour smell.
Kuih Bangkit ingredients (1st trial):-
125g tapioca flour
4 pandan leaves (screwpine), cut small pieces
2 egg yolks
40g caster sugar
30g coconut milk
A pinch of salt
Thinking to drop the idea to making my own “Kuih Bangkit”, but after my conversation with the bakery ingredients shop worker this morning and saw this link sent by Bakeling, I changed my mind.
This was our conversation:-
Me : Do you know how to make Kuih Bangkit?
Shop worker : I don’t know, but I know what ingredients, my clients told me.
Me: I made yesterday, but my kuih bangkit got kind of raw flour smell and hard.
Shop worker : How long did you fry the tapioca flour?
Me: 20mins.
Shop worker: Adoi, only 20mins, Hahaha, you have to stir fry very long hour until the tapioca flour very very light and like it can “Fly”.That means your tapioca flour is not cooked enough, that’s why got kind of raw flour smell. And you have to store it for 2-3 days to let it cool completely .
Me: Ha !! need to fry so long!! and I use the flour immediately when it turn cooled. I know some (from internet) peoples use oven to bake it, this way can kah?
Shop worker: Not advisable to use oven, the flour will fly everywhere inside the oven, later your oven will be broken, follow traditional way, fry it with wok !!
Me: ok, ok, will try. I also heard some people add in margarine?
Shop worker: I don’t think so, but i heard from client they mix it with sago flour.
Me: Really, how much sago flour to add in?
Shop worker: I don’t’ know, maybe half or less.
Me: Ok, give me one packet of sago flour.
I give myself a 2nd trial , I will fry flour today, and cool flour for 2-3 days, let you know the result next week. If still failed, then I will just buy from outside, but I don't really want to do this!!
If you have a good, tried-and-tested recipe, appreciate if you could share it with me!
Happy Baking !!
Wednesday, January 20, 2010
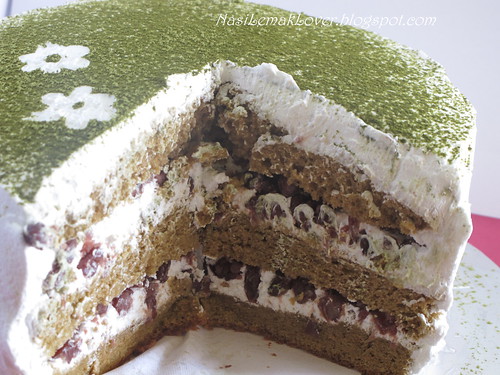
Green tea (Matcha) sponge cake
-Not sure why I can not have nice green colour, because I'm not using the special green tea powder for baking purposes or have to drop some green colouring ?Please let me know if you know the reason, much appreciate.
Green tea (Matcha) sponge cake
Whole eggs 4 ( cold eggs)
Egg yolk 1
Sugar 90g
Golden syrup 1 tbsp
A pinch of salt
Corn oil 20g
Green tea powder 1 tbsp
Cake flour 75g
Baking soda 1/2tsp
Milk 20ml
Home cook red bean paste
Whipped fresh cream
Green tea powder
1. Mix green tea powder with milk until it become green tea paste, set aside.
2. Beat whole egg + egg yolk, sugar and salt on HIGH speed till foamy.
3. Add in syrup and continue beat on MEDIUM speed till double in volume and ribbon-like.
4. Sift cake flour and baking soda, beat on LOW speed till mix well (about 20-30 beats).
5. Add in corn oil, and mix well.
6. With a spatula, take 1/3 of the batter and mix it with no (1) using hand whisk. Fill in this mixture with the remaining batter and combine well with spatula.
7. Pour batter in a 7” round pan and bake 25-30mins at 180c.
8. Remove from the oven and invert the pan immediately. Let cool completely before unmould.
9. Slice the cake horizontally into 3 layers. Place one of the cake layers cut-side down on a cake plate.
10. Spread the whipped cream over the layer. And follow by red bean paste to cover the whole layer.
11. Repeat step 10 for the second cake layer. Top with the third layer.
12. Decorate with your own creativity with whipped fresh cream and green tea powder (I followed to Happy Home Baking decoration)
Happy Baking !!
Monday, January 18, 2010
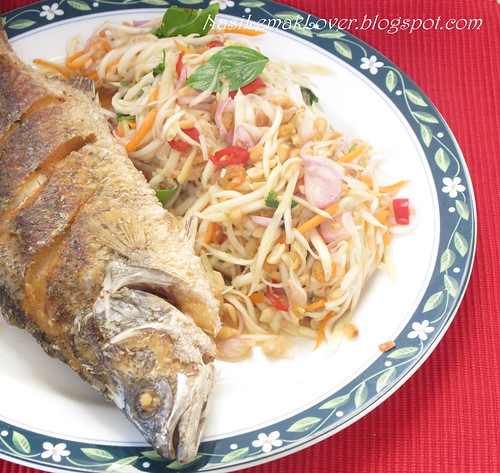
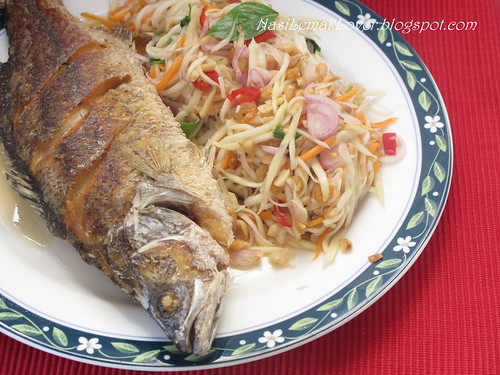
Mango Salad Fish
-Are you salivating after see this photo? If not, better pretend you are, otherwise you will change to ugly, Hahaha!!
Recipe adapted from Flavours food magazine...
Mango Salad Fish
1 whole fish ( I use Siakap fish), rubbed with salt
For the salad
2 unripe mango, cut into long thin strips
1 small carrot, cut into long thin strips
3tbsp dried shrimps, soaked and fried lightly
½ cup peanuts, roasted and roughly chopped
3 shallots, sliced thinly
2 stalks basil (selasih) leaves
3 stalks coriander leaves
1 fresh red chili, sliced thinly
**bird’s eye chili (optional, kids couldn’t take spicy, so I didn’t add in)
Dressing ingredients
3 tbsp sugar or to taste
2 tbsp fish sauce (nam pla) or to taste
3 tbsp lime juice or to taste
1. Heat oil in a wok to deep fry the fish until golden and crispy.
2. In a mixing bowl, combine all salad ingredients and toss well with the dressing ingredients.
3. Refrigerate until ready to use, if not serving immediately
4. Place the fried fish on a serving plate and top with mango salad. Enjoy !!
Enjoy Cooking !!
Sunday, January 17, 2010
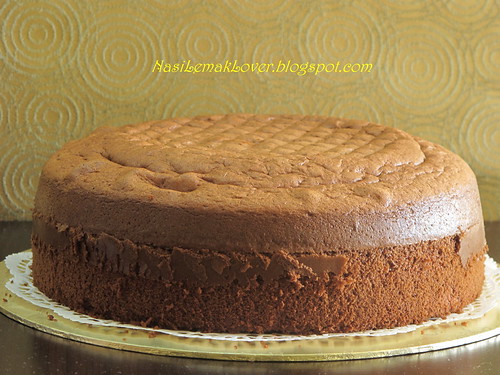
Basic sponge cake
Finally, i found a sponge cake recipe which is really good, moist and spongy, and I can use this as a cake base for Birthday cake.
Recipe adapted from FoodHouse8 (she is my favourite baking master !!), if you know Chinese, the video is self-explanatory, otherwise check below recipe.
Basic Sponge Cake (Cocoa)
Whole eggs 203g ( I use 6 medium eggs, remember to use cold eggs)
Egg yolk 32g (I use 2 medium eggs)
Sugar 135g
Glucose 21g (I use golden syrup)
Salt 1g
Salad oil 32g (I changed to corn oil)
Cocoa powder 21g
Cake flour 106g
Baking soda 1g (I changed to 1tsp)
Milk 21ml
1. Heat up corn oil (low flame), turn off flame, add in cocoa powder and mix well, set aside.
2. Beat whole egg + egg yolk, sugar and salt on HIGH speed till foamy.
3. Add in glucose and continue beat on MEDIUM speed till double in volume and ribbon-like.
4. Sift cake flour and baking soda, beat on LOW speed till mix well.
5. With a spatula, take 1/3 of the batter and mix it with no (1), fill in this mixture with the remaining batter, combine well. Last add in milk and mix well.
6. Pour batter in a 9” round pan and bake for 35mins at 180c.
7. Remove from the oven and invert the pan immediately. Let cool completely before unmould.
** This sponge cake still very moist even keep till the next day, and no need egg separation, so much easy to bake, do try out, good one !!
Happy Baking !!
Saturday, January 16, 2010
Yap Kee ( 叶记),Klang- Banana leaf rice
-This shop is very packed during lunch.
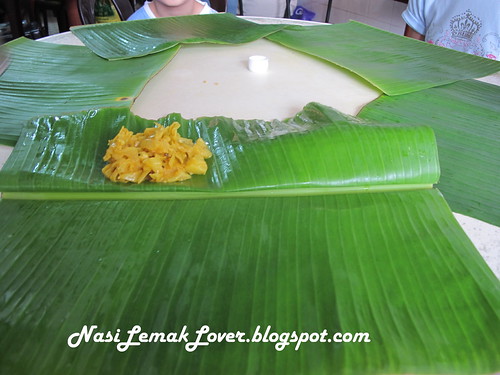
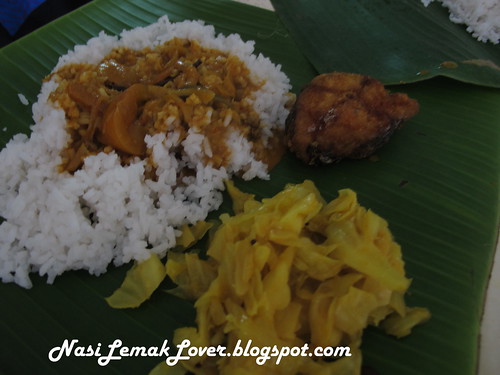
-First, they will place a big banana leaf on the table and serve you some stir-fried tumeric cabbage (they only serve one type of veggie, no other choice !!)
-Then followed by white rice.
- And gravy- either fish or chicken curry
-Add Indian cracker (papadum).
-You can choose to top up with fried fish with curry powder (sorry for the poor quality of photo, too many peoples look at me when i taking photo, I'm too shy, so loose control of the camera setting, hehehe..)
-Or to have a very nice piece of fried chicken with curry powder.
They also have very nice mutton curry, we didn't order this time.
I don't have the exact address of this shop, the shop is located opposite the famous under the bridge bak kut teh, Seng Huat Bak kut Teh. And they only operate during lunch time.
Friday, January 15, 2010
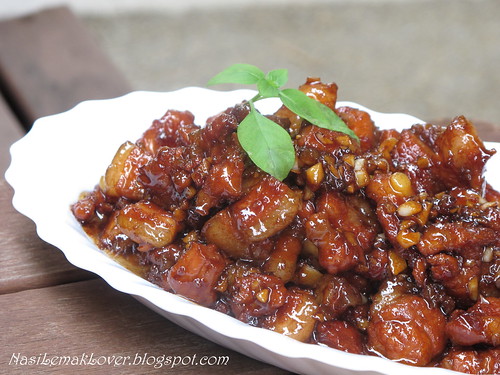
4321 Fragrant Garlic Belly Pork
Recipe adapted from Obhin, she has plenty of good dishes, find out more in her blog. Thank you to Ohbin for kind sharing.
My tip- I slightly changed the steps of preparing this dish, as I remembered my mum taught me to make caramel when cooking pork dish as this process will make the pork dish more fragrant..
4321 Fragrant Garlic Belly Pork
Pork belly 1kg (sliced medium size) –I forgot to weight, just estimated this weight, you adjust accordingly
4 tbsp light soy sauce
3 tbsp sugar
2 tbsp vinegar
1 tbsp Chinese rice wine
Water
Garlic (chopped finely)
1. Place sugar in a heavy-bottomed pan and cook over low flame. Stir it from time to time until sugar melts and turns golden brown (do not overcook, as it will taste bitter)
2. Add in pork meat, mix well.
3. Then add in water, vinegar and wine and cook over low flame for 40mins or more.
4. Once you see little water left, add in chopped garlic, turn to medium flame, and cook till sauce became thicken.
5. Dish out (leave the excess oil).
Happy Cooking !!
Thursday, January 14, 2010
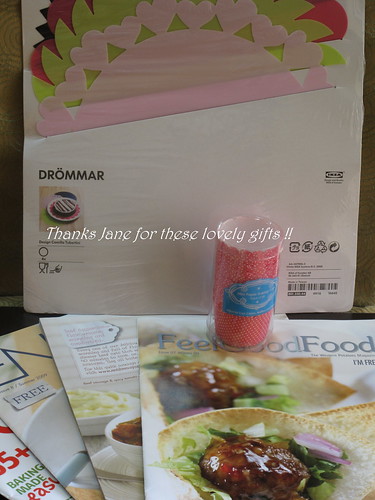
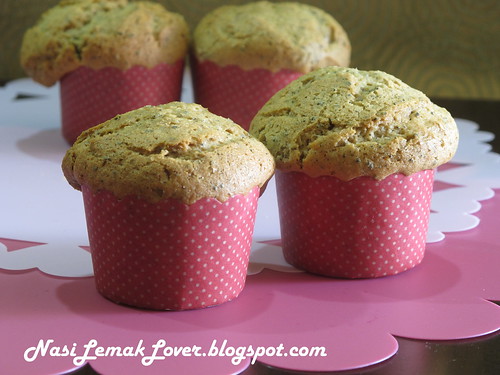
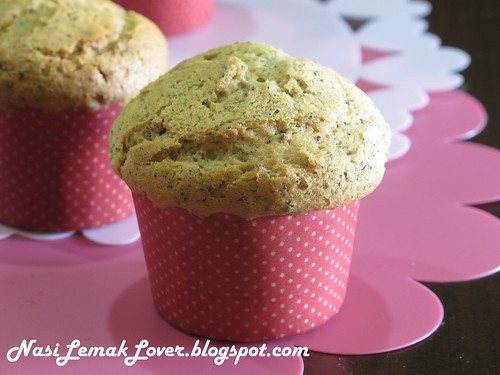
Milk tea muffin and Thanks to Jane !!
-So I quickly use this lovely paper cup cakes to bake new recipe- milk tea muffins.
Recipe adapted from 幸福の我们 (YiYimummy) ,original recipe by 孟老师的《100道小蛋糕》.
Thanks to 仪仪妈咪 for kind sharing !!
Milk Tea Muffins (makes 12)
Tea bag 4 (I use Lipton brand)
Egg 2
Sugar 120g
Cake flour 200g
Milk 50g
Baking soda 2tsp
Corn oil 100g
1. Remove tea leaves from the bag, mix it with milk, soak for 10mins.
2. Whisk egg with sugar till fluffy, then mix in corn oil.
3. Add in milk tea (together with tea leaves), mix it well
4. Sift cake flour and soda in egg mixture, combine well.
5. Fill batter in paper cups, bake at pre-heat oven at 180c for 25mins.
** I feel this muffin turned quite dry when I keep it overnight, so try to consume in the same day.
Happy Baking !!!
Tuesday, January 12, 2010
Fried stuffed chicken wings, simply yummy !!
-Before cutting..
Fried stuffed chicken wings
4 C recipe:-
Chicken wings (debone)
Chicken ham (cut lengthwise)
Carrot (cut lengthwise)
Coriander (cut lenthwise)
1. roll the chicken ham, carrot and coriander, and stuff it inside the chicken wing.
2. tie up by toothpick, season with light soy sauce,salt and pepper, set aside for 1hour.
3. coat with rice flour and deep fry in hot oil till golden brown
Happy Cooking !!


